Click below to see our step-by-step instructions:
Step 1:
Go to the Transfers page and select Manage contacts.
Step 2:
On the Manage contacts page, click the + Add contact button in the top right corner.
From here, you can also remove contacts you no longer need by clicking the trash can icon on the contact card.
Step 3:
On the Add contact page, enter the member’s name and Vancity account number and click Continue to save.
To share your account details:
Step 1:
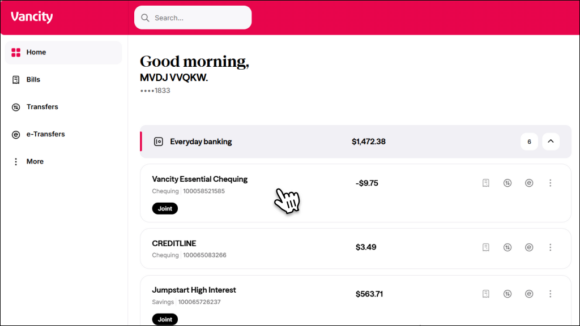
Log in and select the everyday banking account you want to share.
Step 2:
On the Account Summary screen, your account details will appear in the right-hand column.
Note: If you’re using the mobile app, you can easily share these details directly from the screen.
To schedule a transfer:
Step 1:
Go to the Transfers page and choose To another member.
Step 2:
Select an existing contact or enter a one-time contact’s Vancity account number and nickname.
Step 3:
Set a Transfer Date to schedule a future one-time transfer.
To set up recurring transfers, use the Frequency field to choose how often you want the transfer to repeat (e.g., weekly, monthly).
No. Saved contacts used for intermember transfers will not carry over during the migration.
After we move your information to our new platform, you’ll need to re-add any intermember transfer contacts using their Financial Account Number (FAN). You can do this through our desktop site or mobile app.
We’re unable to provide FANs for other members—even if you’ve transferred to them before. However, you can find the FAN in your transaction history. Each intermember transfer includes a 14-digit FAN.
Note: The transfer tool requires a 12-digit FAN. If your transaction history shows a 14-digit FAN, simply remove the first two digits (usually “10”).
| Step 1:
Log in to the Vancity Mobile App and tap Transfers, then select |
|
| Step 2:
Tap the contact you want to transfer to. If you need to add a new member, see the instructions in the |
|
| Step 3:
Complete the following fields:
Tap ‘Continue’ to proceed. |
|
| Step 4:
Review the information and tap ‘Confirm’. |


